Let me tell you about the worst food photo I ever saw on a restaurant's Instagram. It was a perfectly good pasta dish, shot under fluorescent kitchen lights with a cluttered counter in the background. The chef's thumb was visible in the corner. It had two likes — both from the restaurant's other account.
And you know what? That restaurant's food was actually excellent. They just didn't know how to show it.
The gap between "this food is delicious" and "this photo makes you want to eat here" is smaller than you think. You don't need a professional camera, a ring light, or editing software. You need about 30 seconds of intention before you press the shutter button on your phone.
Rule #1: Light is everything (and it's free)
This is the single most important thing in food photography, and it costs nothing: use natural light.
Find the window in your restaurant that gets the best light. For most Finnish restaurants, this means the south-facing window during lunch hours. Place your dish near that window — within a meter or so — and you'll immediately see the difference.
Natural light does three things that kitchen ceiling lights can't: it creates soft shadows that add depth, it shows the true colors of food, and it makes everything look appetizing.
If you can't move the dish to a window, the second-best option is any warm artificial light that isn't directly overhead. The absolute worst? Fluorescent strip lights. They make everything look grey and institutional.
If natural light is too harsh (direct sunlight), place a white napkin between the window and the dish to diffuse it. Instant softbox, zero cost.
Rule #2: The 45-degree angle is your best friend
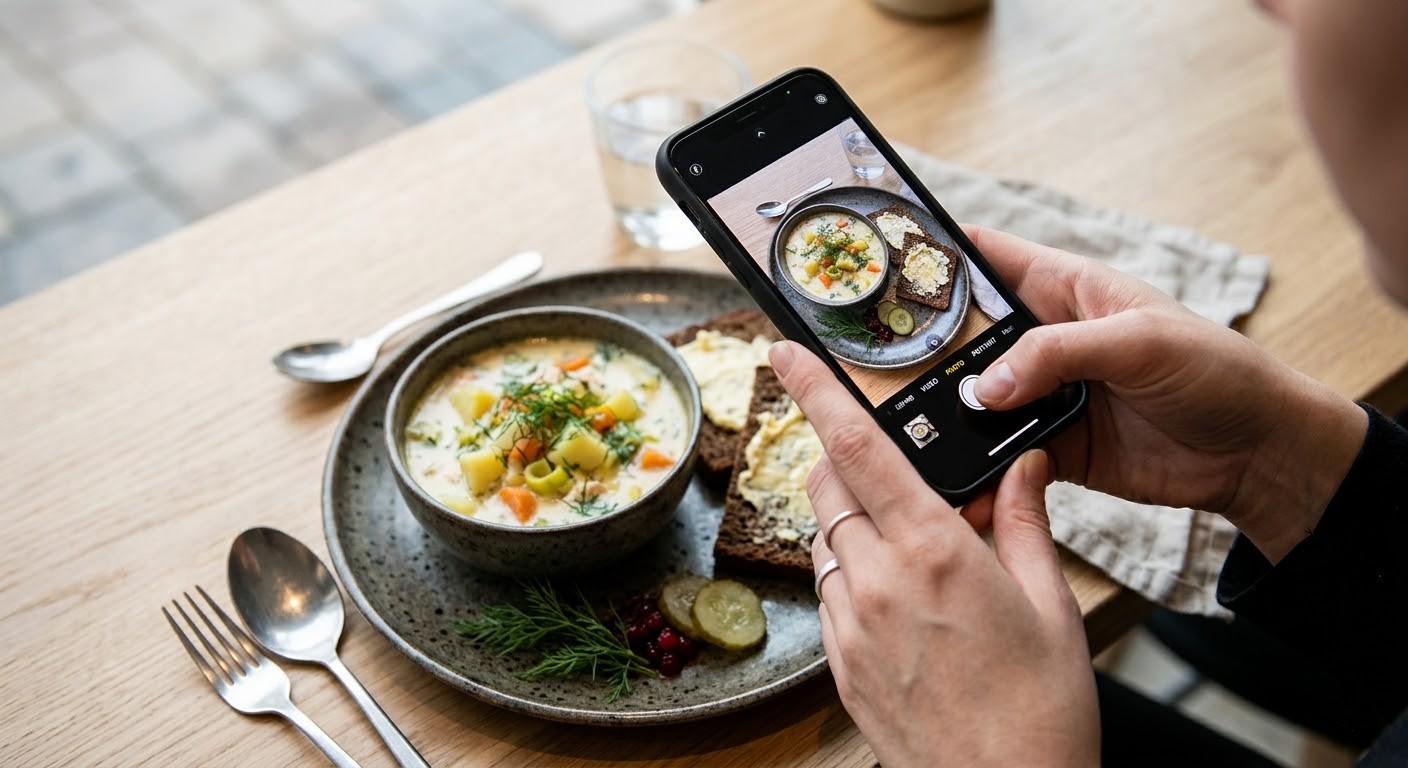
Most people photograph food straight-on (eye level) or directly from above (flat lay). Both can work, but there's a sweet spot in between: roughly 45 degrees, as if you're about to sit down and eat.
This angle works because it shows both the top of the dish and a bit of the side, giving a sense of volume and depth. A flat bowl of soup shot from above looks like a circle of liquid. Shot at 45 degrees, you see the steam, the garnish floating on top, the bread on the side. It tells a story.
There are exceptions. Flat lays work great for multiple dishes arranged on a table — like a lunch spread or a brunch setup. And side-on shots are perfect for tall items like burgers, layer cakes, or drinks.
But when in doubt, 45 degrees. Every time.
Rule #3: Clean the frame before you shoot
Before you take the photo, spend 5 seconds looking at what's behind and around the dish. Remove anything that doesn't belong: the ketchup bottle, the crumpled napkin, the dirty fork from the previous customer, the plastic container of sauce.
You don't need a styled background. A clean wooden table, a white plate, maybe a folded napkin — that's enough. The food should be the star.
One thing I always recommend: wipe the rim of the plate. Sauce drips and fingerprints are invisible in person but glaringly obvious in photos.
Rule #4: Composition tricks that cost zero effort
You don't need to study composition theory. Here are three tricks that work every time:
- Rule of thirds: Don't center the dish. Place it slightly off-center, in the lower-left or lower-right area of the frame. Your phone has a grid overlay in camera settings — turn it on.
- Leave breathing room: Don't crop the plate edge. Leave some empty space around the dish so it doesn't feel cramped.
- Add a supporting element: A cup of coffee next to the dish, a hand reaching for bread, a wine glass in the background. These elements add context and make the photo feel alive rather than clinical.
Rule #5: Edit, but don't overdo it
Every smartphone has basic photo editing built in. Use it, but with restraint.
The only three adjustments most food photos need:
- Brightness: bump it up slightly. Food photos almost always benefit from being a touch brighter.
- Warmth: add a tiny bit of warmth. Cool-toned food looks unappetizing.
- Contrast or Vibrance: a small increase makes colors pop without looking artificial.
What to avoid: heavy filters, excessive saturation (nobody's food is neon orange), and that HDR look that makes everything look like a video game screenshot.
A good rule: if you can tell the photo has been edited, you've gone too far.
Rule #6: Shoot it before it gets cold
Hot food photographs best in the first 60 seconds after plating. The steam is visible, the sauce is glossy, the cheese is melted, the garnish is perky. After that, physics takes over: steam dissipates, sauces congeal, greens wilt.
This means you need to be ready before the dish leaves the pass. Know your angle, know where the light is, have your phone camera open. Plate, position, shoot. Three moves.
For cold dishes and desserts, you have more time. But even then, ice cream melts and whipped cream deflates. Don't wait.
If you're the chef and the one posting, ask a team member to take the photo while you plate. Brief them once on the angle and light, and they'll handle it going forward.
When you don't have time (or a dish) to photograph
Some days you just can't stop to take photos. The kitchen is slammed, the lunch rush started early, or the daily special doesn't photograph well (stews, I'm looking at you).
On those days, you have options. Use a photo from earlier in the week — if the dish is the same, the photo still works. Use a quick video clip from the kitchen — the sizzle of a pan or the chop of vegetables takes 5 seconds to capture and often gets more engagement than a still photo.
Or use AI image generation. Tools like ChefPost can create appetizing food visuals from a text description. Type "creamy mushroom soup with fresh bread and herbs" and get a professional-looking image in seconds. Is it a photo of your actual dish? No. But it's a beautiful visual that represents what you're serving, and it's infinitely better than posting nothing.
The practical takeaway
Here's a challenge: tomorrow, before lunch service, take one photo of one dish using these rules. Natural light, 45 degrees, clean background, quick edit. Compare it to your last Instagram post.
I'm willing to bet it looks noticeably better. And it probably took you less than a minute.
Great food photography for restaurants isn't about having great equipment or great skills. It's about having a few good habits. Once these six rules become automatic — and they will, after a week or two — your feed will transform. And your customers will notice.
ChefPost helps restaurants shine on social media with the power of AI.
